High School Computer Science and Programming Workshop
Class 2: A Snappy Snap! Primer
Hesam Samimi, Cliff Kushler
Ananda Living Wisdom School

Here is a direct link to Snap!.
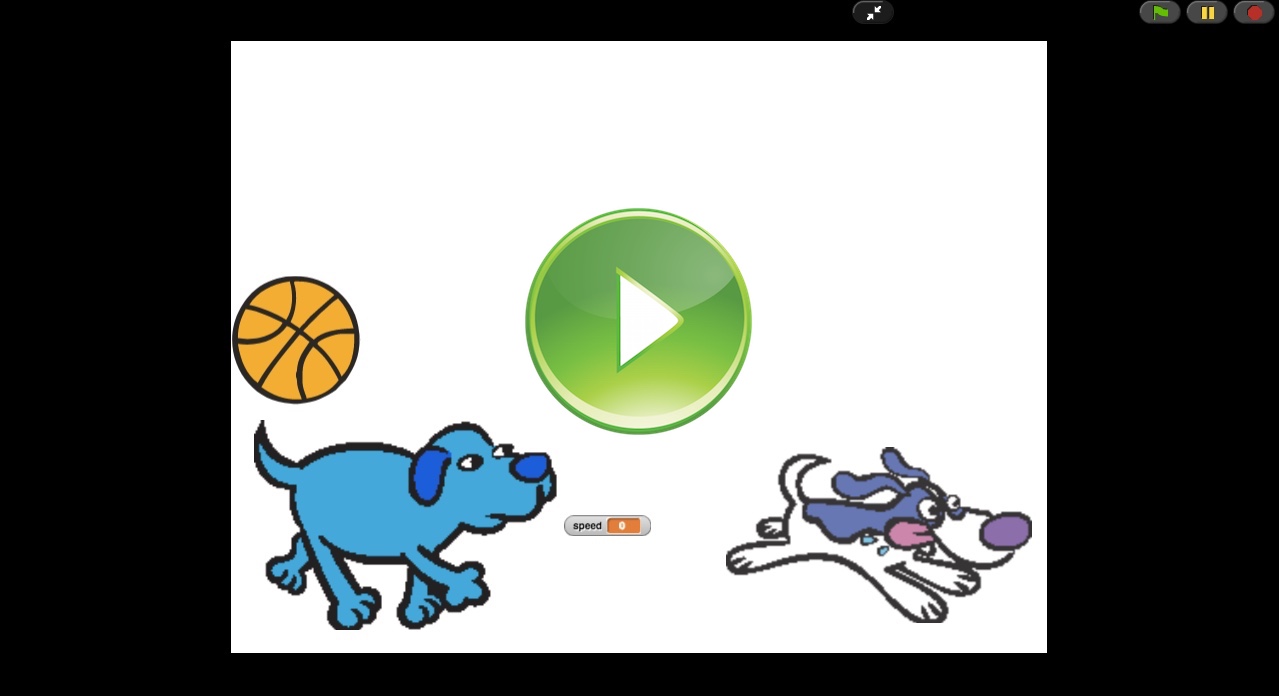
To play with Snap! you can just click on the play button on some of the images, like the one above. If you have any problems with it loading, visit Snap! directly in a new browser tab (On that page, click "Run Snap! now"). Another possible solution, if your browser is not Chrome, is to give Chrome a try.
Making a New Sprite
A Sprite is new kind of "thing" you create, give it a look and feel, add to it some functionality (for example "When clicked on change your color."). You can also make copies of it. Therefore it is a blueprint (technical term Prototype) for the new kind of creature you have created.
When you get a blank Snap! page you always get one default sprite ready to roll: the  icon. You can work with that or delete it. Whenever you want to add a new kind of sprite click on
  , which originally shows up as the default arrow shape. If you want a different shape, first make sure the right sprite is selected on the bottom-right pane. Then you can either import an existing image (called a Costume) by clicking
  and choosing "Costumes..." from the pull-down menu, or draw your own by clicking on
  icon.
icon.
Look here! I've deleted the default sprite and created my own ball looking sprite! I've even given it a name "Ballio" rather than the default "Sprite". Can you figure out all the steps to make your own now, either importing an existing costume or making your own?
Ballio!

Saving Your Work
Be sure to save your work often so not to lose any work! To save, click and choose "Export project...". This will give you an .xml file on your computer. Now practice loading your saved work: Refresh the page back to a blank Snap! page, and then go back to File Menu and choose "Import...", then select the file you just saved. Tada!
Adding Behavior to Your Sprite
Now let the fun begin! Let's give some behavior to our Ballio. This is done by making sure your sprite is selected on the bottom-right pane, and "Scripts" tab is active on the middle pane. To add behavior we are going to add lego-like tiles on the left pane into the Scripts area.
From the Control section arrange the following tiles:

Then from the Motion section add in these:
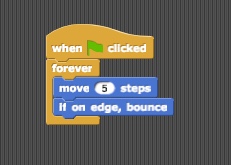
Be sure to save your work, just in case. OK. What are you waiting for? Go ahead and click  to start your program.
Can you make sense of what you see? Can you explain how your program is doing what is doing? Say the purpose of each tile you had to add.
So What's a Prototype?
Let's figure out why the sprite you just made is also called a Prototype. Add the following little tiles to you existing Script for Ballio:
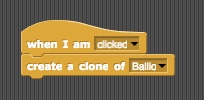
And then these:

So the set of scripts for Ballio should look like this:
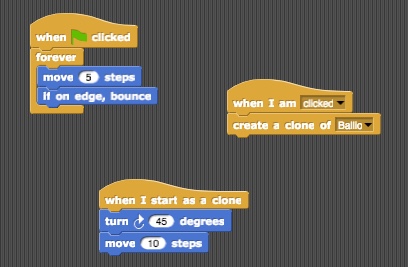
Test that your sprite still has it's old functionality, meaning when you click it starts bouncing around. Now test the new behavior you just added: Click on your Ballio. What happens? You should see a clone created next to it. Now what happens if you start the program? Can you create more clones?
Variables
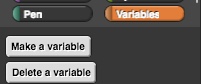
What is a Variable? It is used to store information and keep it up to date. So let's make the program more interesting. Create a variable by choosing the "Variables" section and clicking "Make a variable":
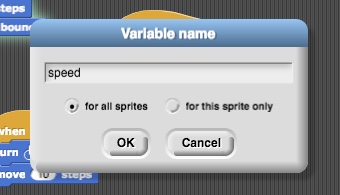
Give the variable the name speed, and opt for "for all variables" option:
You will see a view of your new variable appearing in the Stage panel:

Now, modify the script for Ballio to move by the value of the speed variable, instead of moving at the fixed rate of 5:

Notice what happens when you now run your program. Ballio does't move! Why? That's right: because variable speed's current value is 0.
So let's add a couple of new kind of sprites to act as buttons to change the value of our variable. I created the following two new sprites, gave them the names Fast and Slow, and used a fast-running and a slow-running dog as their costumes:

Give the following script to Fast. Do so by first selecting the sprite on the bottom-right pane, then add the tiles to the script area:
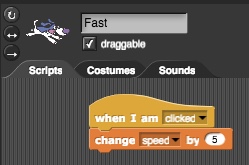
What do you think it does? That is right. Each time you click on it, it adds 5 to the current value of variable speed. Add a similar thing for Slow so it does the opposite thing.
Check out the whole script for Ballio. It should now look something like this (note that the scripts for Fast and Slow you just added don't appear here. They would be found under their own sprite):
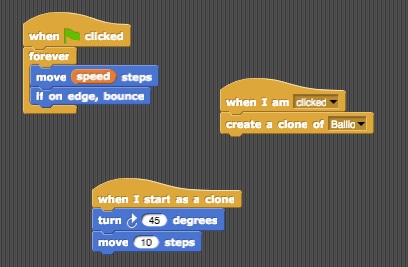
Here is the finished program:
Using Variables
Here is a direct link to this exercise.
Control
The yellow-colored tiles you used were classified under the Control section. Here they were:

What do they involve? They seem to be involved with making decisions, for example: Do this every time this is clicked, or Do this every time a new clone is made. The Forever tile wrapped around some other tiles to say, Keep running these blocks forever.
Control blocks are a pretty important part of programming. Why? Yes, because they are used to make decisions--What to do and when!
There are many more kinds of blocks in the toolbox. You will learn more of them soon.
Exploring Time!
There are many Snap! examples here and here, done by students like yourself. Go ahead and explore them, and try to figure out how they work! Remember, click on  to look at the code.
Next: Class 3: Concurrent and Event-Based Programming
Previous: Class 1: Lists, Sets
Back to: Table of Contents